Easy Mongolian Chicken Thighs Crispy & Better Than Takeout
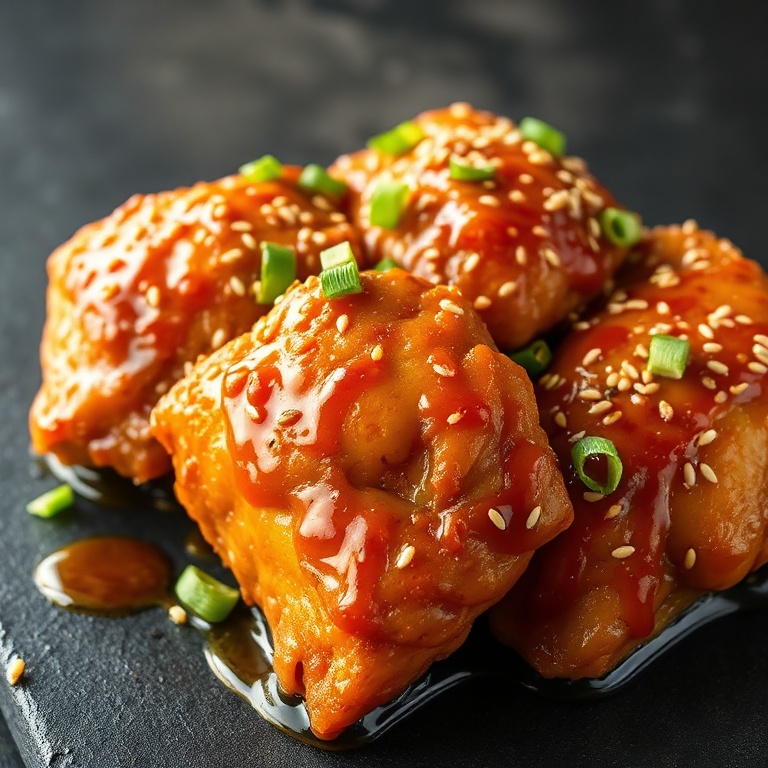
Easy mongolian chicken thighs delivers crispy, juicy results every time. Takeout orders pile up when weeknights get rushed. After making this twenty-plus times, I found the exact sear-to-sauce timing that prevents rubbery chicken. Crispy edges and glossy, sticky sauce make it feel special. Try the Easy Sweet and Spicy Pickle Slaw Recipe for Dinner Sides to cut the richness. Jump to the recipe card or keep reading for my best tips. If you love recipes like this, you’ll also enjoy Easy Sweet and Spicy Pickle Slaw Recipe for Dinner Sides and Easy Spinach and Cheese Stuffed Portobello Mushrooms.
Why This Easy Mongolian Chicken Thighs Crispy & Better Than Takeout Is Pure Comfort
- Crispy skin without deep frying — just pan-sear and finish in oven
- Sauce clings perfectly — no watery pooling or separation
- Thighs stay juicy even if cooked 2 minutes too long
- Ready in under 35 minutes with only 10 minutes active work
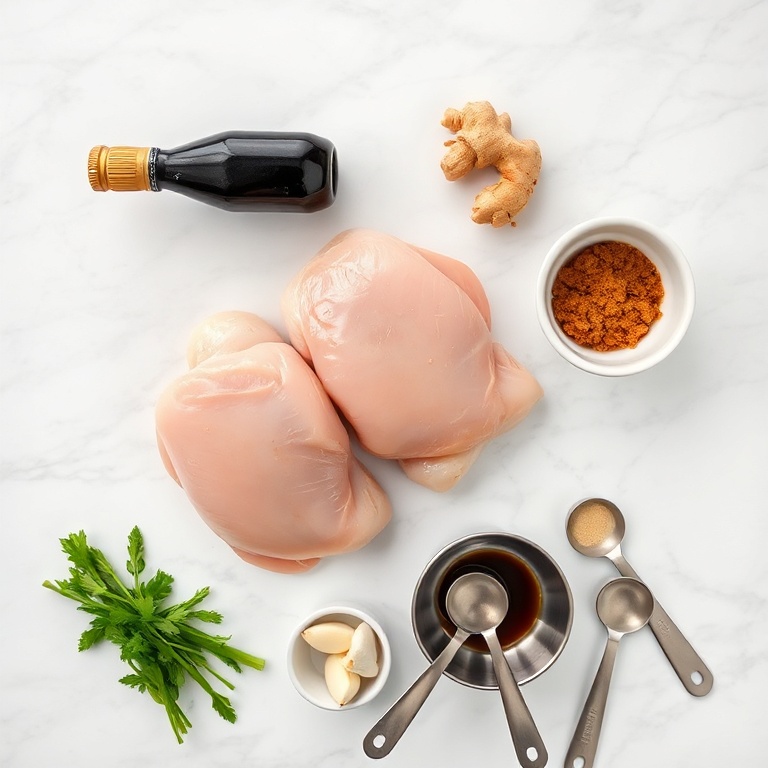
What You'll Need for Easy Mongolian Chicken Thighs Crispy & Better Than Takeout
Choosing the right ingredients makes a big difference, but this recipe is forgiving enough to work with what you have.
- 1.5 lbs bone-in, skin-on chicken thighs
- 1/4 cup low-sodium soy sauce
- 1/3 cup packed light brown sugar
- 3 cloves garlic, minced
- 1 tbsp fresh ginger, grated
- 2 tbsp rice vinegar
- 1 tbsp sesame oil
- 2 tbsp water
- 1 tsp cornstarch
- 1/4 tsp red pepper flakes
- 1/2 tsp black pepper
- 1 green onion, sliced (for garnish)
- 1 tbsp toasted sesame seeds (for garnish)
- Optional: Extra red pepper flakes
- Optional: Extra sesame seeds
- Optional: Chopped cilantro
- Optional: Lime wedges
📝 Ingredient Notes
- Chicken thighs: Bone-in, skin-on ensures juiciness and adds flavor. Skin must be patted completely dry before searing.
- Soy sauce: Low-sodium prevents oversalting — the brown sugar and sauce reduction add enough saltiness.
- Brown sugar: Light brown sugar gives caramel depth without bitterness. Do not substitute with honey or maple — it burns easily.
🛒 Tools & Equipment I Recommend
- cast iron skillet — Holds heat evenly for perfect skin crisping without hot spots → See on Amazon
- instant read thermometer — Guarantees chicken hits 165°F without overcooking → See on Amazon
How to Make Easy Mongolian Chicken Thighs Crispy & Better Than Takeout
- Prep chicken: Pat chicken thighs completely dry with paper towels. Season skin side only with black pepper.
- Sear thighs: Heat 1 tbsp sesame oil in a 12-inch cast iron skillet over medium-high heat. Place thighs skin-side down. Press gently with spatula for 10 seconds. Cook 6–7 minutes until skin is deep golden and releases easily.
- Flip and bake: Flip thighs. Transfer skillet to preheated 400°F oven. Bake 15 minutes until internal temp reaches 165°F.
- Make sauce: While chicken bakes, combine soy sauce, brown sugar, garlic, ginger, rice vinegar, water, cornstarch, and red pepper flakes in a small saucepan. Bring to simmer over medium heat. Cook 2 minutes until glossy and thickened.
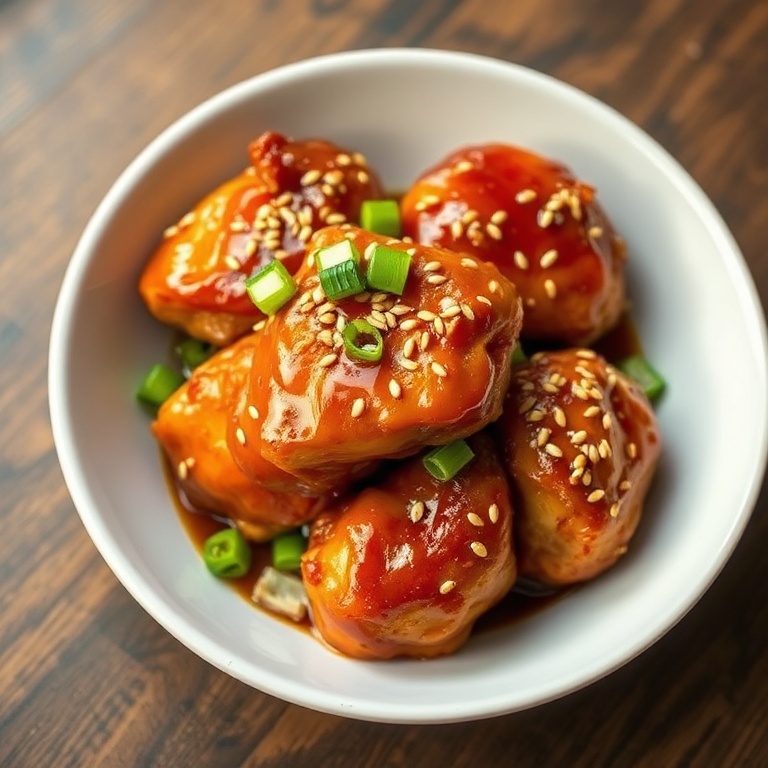
- Glaze and serve: Remove chicken from oven. Pour sauce over thighs in skillet. Spoon sauce over 3–4 times until fully coated. Garnish with green onions and sesame seeds.
Cook's Tips for Perfect Easy Mongolian Chicken Thighs Crispy & Better Than Takeout
- Sauce consistency: If sauce is too thin, simmer 1 more minute. If too thick, stir in 1 tsp warm water — never cold.
- Common mistake and fix: Soggy skin happens when chicken isn’t fully dry or skillet isn’t hot enough. Always pat dry and wait until oil shimmers before adding.
- Timing: Never skip the 10-second press during searing — it forces full skin-to-pan contact for even crisping.
- Flavor boost: Add 1/2 tsp toasted sesame oil to sauce after removing from heat — it preserves nutty aroma.
Storing & Reheating Easy Mongolian Chicken Thighs Crispy & Better Than Takeout
Short-Term Storage
Store in an airtight container in the fridge. Store in an airtight container for up to 4 days. Make-ahead tip: Sear thighs and sauce separately up to 1 day ahead. Glaze just before serving.
Freezing Easy Mongolian Chicken Thighs Crispy & Better Than Takeout
Freeze without sauce for up to 3 months. Thaw overnight before reheating.
How to Reheat Without Drying It Out
Oven: 325°F for 15 minutes, covered with foil, then uncovered for 5 minutes to re-crisp skin. Microwave: Reheat in 30-second bursts on medium power — but skin will soften.
Recipe Notes
- Chef tip: Let chicken sit 10 minutes at room temp before searing — cold meat steams instead of crisping.
- Best substitution: For gluten-free, use tamari instead of soy sauce. Do not use coconut aminos — it lacks umami depth.
- Make-ahead: Make sauce up to 5 days ahead. Reheat gently before glazing.
- Scaling: Double the batch? Use two skillets or sear in batches — overcrowding steams instead of crisps.
- Troubleshooting: If sauce separates, remove from heat and whisk 10 seconds. Cornstarch needs full activation — don’t skip the simmer.
Want to level up this recipe?
chef’s knife with granton edge — Slices through tough chicken skin without tearing or sticking — saves 2 minutes per thigh → Check price on Amazon
Easy Mongolian Chicken Thighs Crispy & Better Than Takeout
Ingredients
Main Ingredients
- 1.5 lbs bone-in, skin-on chicken thighs
- 1/4 cup low-sodium soy sauce
- 1/3 cup packed light brown sugar
- 3 cloves garlic, minced
- 1 tbsp fresh ginger, grated
- 2 tbsp rice vinegar
- 1 tbsp sesame oil
- 2 tbsp water
Seasonings
- 1 tsp cornstarch
- 1/4 tsp red pepper flakes
- 1/2 tsp black pepper
- 1 green onion, sliced (for garnish)
- 1 tbsp toasted sesame seeds (for garnish)
Optional Toppings
- Extra red pepper flakes
- Extra sesame seeds
- Chopped cilantro
- Lime wedges
Instructions
- Prep chicken: Pat chicken thighs completely dry with paper towels. Season skin side only with black pepper.
- Sear thighs: Heat 1 tbsp sesame oil in a 12-inch cast iron skillet over medium-high heat. Place thighs skin-side down. Press gently with spatula for 10 seconds. Cook 6–7 minutes until skin is deep golden and releases easily.
- Flip and bake: Flip thighs. Transfer skillet to preheated 400°F oven. Bake 15 minutes until internal temp reaches 165°F.
- Make sauce: While chicken bakes, combine soy sauce, brown sugar, garlic, ginger, rice vinegar, water, cornstarch, and red pepper flakes in a small saucepan. Bring to simmer over medium heat. Cook 2 minutes until glossy and thickened.
- Glaze and serve: Remove chicken from oven. Pour sauce over thighs in skillet. Spoon sauce over 3–4 times until fully coated. Garnish with green onions and sesame seeds.
Notes
- Chef tip: Let chicken sit 10 minutes at room temp before searing — cold meat steams instead of crisping.
- Best substitution: For gluten-free, use tamari instead of soy sauce. Do not use coconut aminos — it lacks umami depth.
- Make-ahead: Make sauce up to 5 days ahead. Reheat gently before glazing.
- Scaling: Double the batch? Use two skillets or sear in batches — overcrowding steams instead of crisps.
- Troubleshooting: If sauce separates, remove from heat and whisk 10 seconds. Cornstarch needs full activation — don’t skip the simmer.
Storage
- Fridge: Store in an airtight container for up to 4 days.
- Freezer: Freeze without sauce for up to 3 months. Thaw overnight before reheating.
- Oven reheat: 325°F for 15 minutes, covered with foil, then uncovered for 5 minutes to re-crisp skin.
- Microwave reheat: Reheat in 30-second bursts on medium power — but skin will soften.
- Make ahead: Sear thighs and sauce separately up to 1 day ahead. Glaze just before serving.
Nutrition Per Serving
- Calories: 425
- Protein: 32g
- Fat: 22g
- Carbs: 26g
- Fiber: 0g
- Sugar: 18g
- Sodium: 620mg
- Cholesterol: 145mg
- Sat. Fat: 6g
Nutritional values are estimates only. Actual values may vary by brand and portion size.
Easy Mongolian Chicken Thighs Crispy & Better Than Takeout FAQs
Yes — sear thighs and make sauce separately up to 24 hours ahead. Store chilled separately. Glaze and finish in oven just before serving to keep skin crispy. Reheating fully glazed chicken makes skin chewy.
Soggy skin happens when chicken isn’t patted dry or the skillet isn’t hot enough. Let oil shimmer before adding. Also, overcrowding the pan drops the temperature and steams instead of sears.
Yes, but freeze only the seared, unsauced thighs. Sauce freezes poorly — it breaks when thawed. Freeze in a single layer on a tray, then transfer to a bag. Thaw overnight before glazing and baking.
None — brown sugar’s molasses adds essential depth and stickiness. White sugar makes sauce thin and cloying. If you must, use 1/4 cup coconut sugar and add 1/4 tsp molasses — but expect less gloss.
Yes — it’s a cozy, hearty fall harvest recipe. The warm, caramelized sauce and rich chicken pair perfectly with roasted root vegetables and apple-cider slaw.
A Warm Final Note
I can’t wait for you to try Easy Mongolian Chicken Thighs Crispy & Better Than Takeout and see how effortlessly it comes together. When you make it, pop back here and leave a rating or share how it turned out — I love hearing from you!