Crispy Fruity Pebbles Cheesecake Tacos – Better Than Takeout Dessert

Crispy Fruity Pebbles Cheesecake Tacos – The perfect fun and easy dessert that’s better than takeout! After making these many times, I’ve discovered the trick to getting the perfect crispy texture. Keep reading for my best tips. If you love recipes like this, you’ll also enjoy Easy Crockpot Thai Peanut Chicken Recipe for Dinner and Sweet and Spicy Pickle Slaw Recipe for Quick Dinners.
Why This Crispy Fruity Pebbles Cheesecake Tacos – Better Than Takeout Dessert Is Pure Comfort
- Crispy Fruity Pebbles coating for added crunch
- Creamy cheesecake filling that's not too sweet
- Easy to make and perfect for any occasion
- Better than takeout and a crowd-pleaser
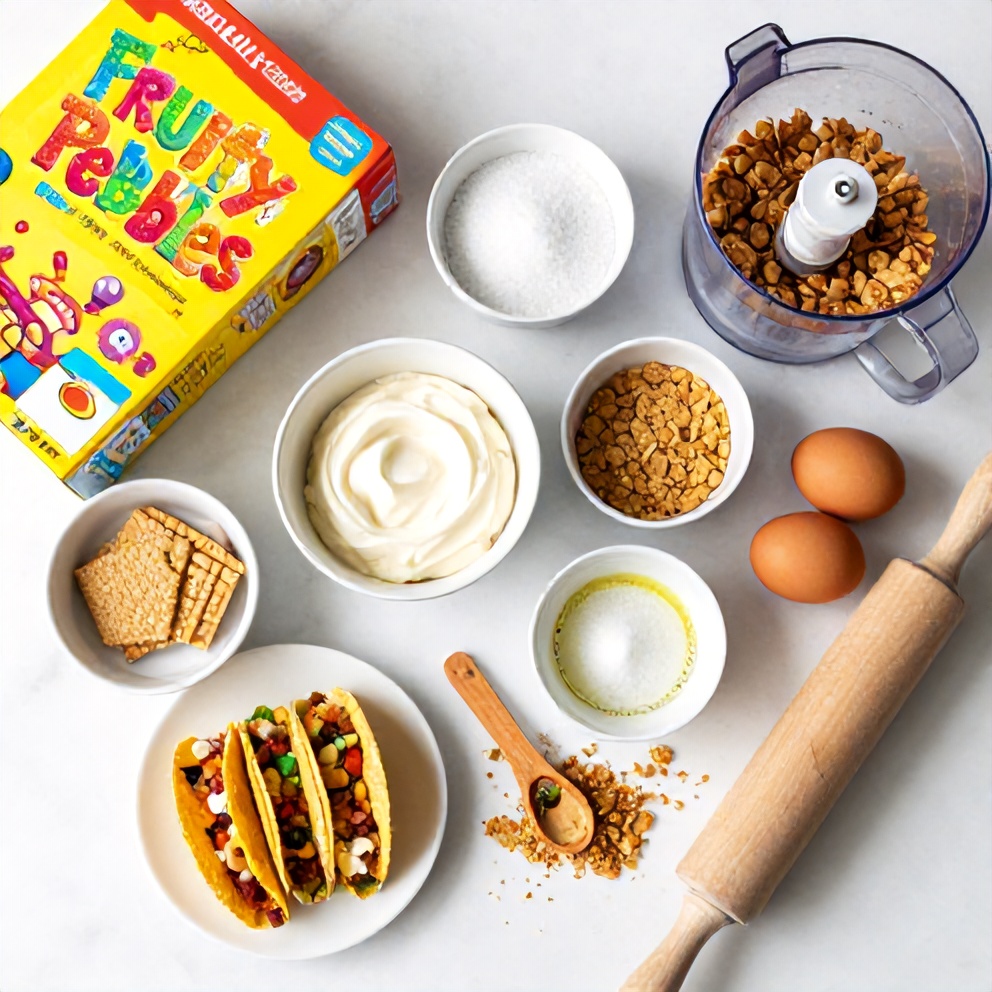
What You'll Need for Crispy Fruity Pebbles Cheesecake Tacos – Better Than Takeout Dessert
Choosing the right ingredients makes a big difference, but this recipe is forgiving enough to work with what you have.
- Fruity Pebbles cereal
- Cream cheese
- Graham crackers
- Sugar
- Eggs
- Vanilla extract
- Taco shells
- Sugar
- Vanilla extract
- Optional: Whipped cream
- Optional: Fresh berries
📝 Ingredient Notes
- Fruity Pebbles: Use the whole box for a thick coating and extra crunch.
- Taco shells: You can use regular or mini taco shells depending on your preference.
🛒 Tools & Equipment I Recommend
- Food processor — Makes quick work of crushing graham crackers and mixing cheesecake filling. → See on Amazon
- Parchment paper — Prevents cheesecake mixture from sticking to the pan and makes cleanup a breeze. → See on Amazon

How to Make Crispy Fruity Pebbles Cheesecake Tacos – Better Than Takeout Dessert
- Prepare the cheesecake mixture: Blend graham crackers, sugar, and melted butter in a food processor. Press into a greased 9-inch pie pan and bake at 375°F (190°C) for 7 minutes. In a separate bowl, beat cream cheese, sugar, eggs, and vanilla until smooth. Pour into the crust and bake at 325°F (165°C) for 25-30 minutes.
- Coat the cheesecake: Crush Fruity Pebbles cereal in a bag with a rolling pin. Once the cheesecake has cooled, cut it into triangles and coat each piece in the cereal, pressing gently to adhere.
- Assemble the tacos: Spoon a small amount of cheesecake mixture into each taco shell, then place the coated cheesecake triangle inside. Top with whipped cream and fresh berries if desired.
Cook's Tips for Perfect Crispy Fruity Pebbles Cheesecake Tacos – Better Than Takeout Dessert
- Common mistake and fix: Be careful not to overbake the cheesecake, as it can become dry. If this happens, add a dollop of whipped cream to each taco to add moisture.
- Time-saving tip: Prepare the cheesecake mixture and press the crust into the pan the day before to save time.
- Presentation tip: For a festive touch, serve these tacos on a platter lined with colorful paper or a doily.
Storing & Reheating Crispy Fruity Pebbles Cheesecake Tacos – Better Than Takeout Dessert
Short-Term Storage
Store in an airtight container in the fridge. Store in an airtight container in the fridge for up to 3 days. Make-ahead tip: The cheesecake mixture can be made up to 2 days ahead and stored in the fridge.
Freezing Crispy Fruity Pebbles Cheesecake Tacos – Better Than Takeout Dessert
Freeze individual tacos for up to 2 months. Thaw in the fridge overnight before serving.
How to Reheat Without Drying It Out
Oven: Reheat in the oven at 350°F (180°C) for 5-7 minutes. Microwave: Reheat in the microwave for 15-20 seconds, but be careful not to overheat and make the cheesecake soggy.
Recipe Notes
- Chef tip: For a no-bake version, simply press the graham cracker crust into the pan and pour the cheesecake mixture on top. Refrigerate for at least 4 hours before serving.
- Best substitution: You can substitute the Fruity Pebbles with another crispy cereal or even crushed cookies for a different flavor.
- Make-ahead: These tacos can be assembled up to 1 hour ahead of time and stored in the fridge until ready to serve.
- Scaling: This recipe can be easily doubled to serve a larger crowd.
- Troubleshooting: If the cheesecake mixture is too thick to spoon into the taco shells, add a small amount of milk or cream to thin it out.
Want to level up this recipe?
Springform pan — Makes it easy to remove the cheesecake from the pan and ensures perfect edges. → Check price on Amazon
Crispy Fruity Pebbles Cheesecake Tacos – Better Than Takeout Dessert
Ingredients
Main Ingredients
- Fruity Pebbles cereal
- Cream cheese
- Graham crackers
- Sugar
- Eggs
- Vanilla extract
- Taco shells
Seasonings
- Sugar
- Vanilla extract
Optional Toppings
- Whipped cream
- Fresh berries
Instructions
- Prepare the cheesecake mixture: Blend graham crackers, sugar, and melted butter in a food processor. Press into a greased 9-inch pie pan and bake at 375°F (190°C) for 7 minutes. In a separate bowl, beat cream cheese, sugar, eggs, and vanilla until smooth. Pour into the crust and bake at 325°F (165°C) for 25-30 minutes.
- Coat the cheesecake: Crush Fruity Pebbles cereal in a bag with a rolling pin. Once the cheesecake has cooled, cut it into triangles and coat each piece in the cereal, pressing gently to adhere.
- Assemble the tacos: Spoon a small amount of cheesecake mixture into each taco shell, then place the coated cheesecake triangle inside. Top with whipped cream and fresh berries if desired.
Notes
- Chef tip: For a no-bake version, simply press the graham cracker crust into the pan and pour the cheesecake mixture on top. Refrigerate for at least 4 hours before serving.
- Best substitution: You can substitute the Fruity Pebbles with another crispy cereal or even crushed cookies for a different flavor.
- Make-ahead: These tacos can be assembled up to 1 hour ahead of time and stored in the fridge until ready to serve.
- Scaling: This recipe can be easily doubled to serve a larger crowd.
- Troubleshooting: If the cheesecake mixture is too thick to spoon into the taco shells, add a small amount of milk or cream to thin it out.
Storage
- Fridge: Store in an airtight container in the fridge for up to 3 days.
- Freezer: Freeze individual tacos for up to 2 months. Thaw in the fridge overnight before serving.
- Oven reheat: Reheat in the oven at 350°F (180°C) for 5-7 minutes.
- Microwave reheat: Reheat in the microwave for 15-20 seconds, but be careful not to overheat and make the cheesecake soggy.
- Make ahead: The cheesecake mixture can be made up to 2 days ahead and stored in the fridge.
Nutrition Per Serving
- Calories: 220
- Protein: 4g
- Fat: 10g
- Carbs: 30g
- Fiber: 1g
- Sugar: 18g
- Sodium: 200mg
- Cholesterol: 50mg
- Sat. Fat: 6g
Nutritional values are estimates only. Actual values may vary by brand and portion size.
Crispy Fruity Pebbles Cheesecake Tacos – Better Than Takeout Dessert FAQs
Yes, you can assemble the tacos up to 1 hour ahead of time and store them in the fridge until ready to serve. However, the cheesecake mixture can be made up to 2 days ahead and stored in the fridge.
Be careful not to overbake the cheesecake, as it can become dry. If this happens, add a dollop of whipped cream to each taco to add moisture.
Yes, you can freeze individual tacos for up to 2 months. Thaw in the fridge overnight before serving.
While you can't cook the cheesecake in the air fryer, you can use it to crisp up the Fruity Pebbles coating. Simply place the coated cheesecake triangles in the air fryer at 350°F (180°C) for 2-3 minutes, keeping a close eye on them to prevent burning.
You can substitute the Fruity Pebbles with another crispy cereal or even crushed cookies for a different flavor.
A Warm Final Note
I can’t wait for you to try Crispy Fruity Pebbles Cheesecake Tacos – Better Than Takeout Dessert and see how effortlessly it comes together. When you make it, pop back here and leave a rating or share how it turned out — I love hearing from you!