Crispy Ravioli Appetizer: 5 Ultimate Cheesy Bites
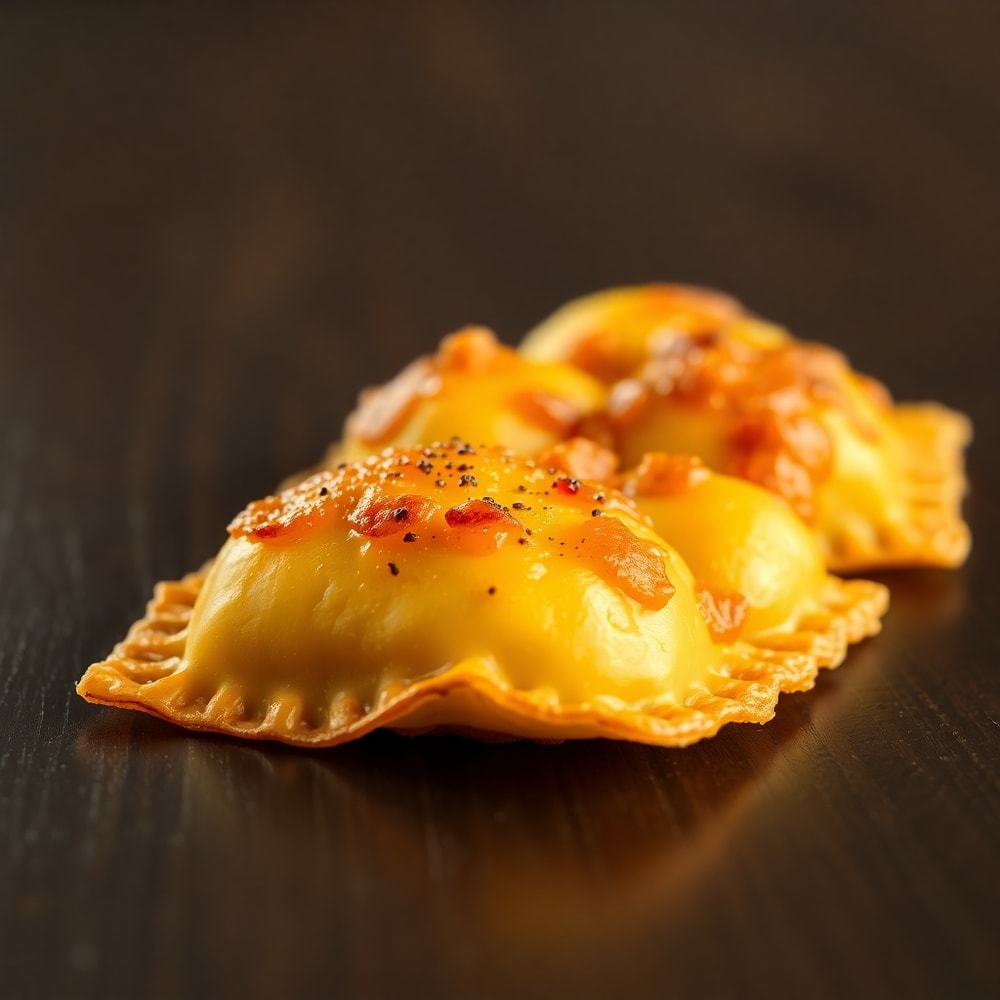
Crispy Ravioli Appetizer delivers 5 ultimate cheesy bites. After making this many times, I’ve perfected the trick for a golden, crispy exterior and a creamy interior. The trick? Breadcrumbs and high heat. Start with frozen ravioli for easy prep. Jump to the recipe card or keep reading for my best tips. If you love recipes like this, you’ll also enjoy Sweet and Savory Pineapple Chicken and Rice One-Pan Wonder and Creamy Baked Macaroni and Cheese.
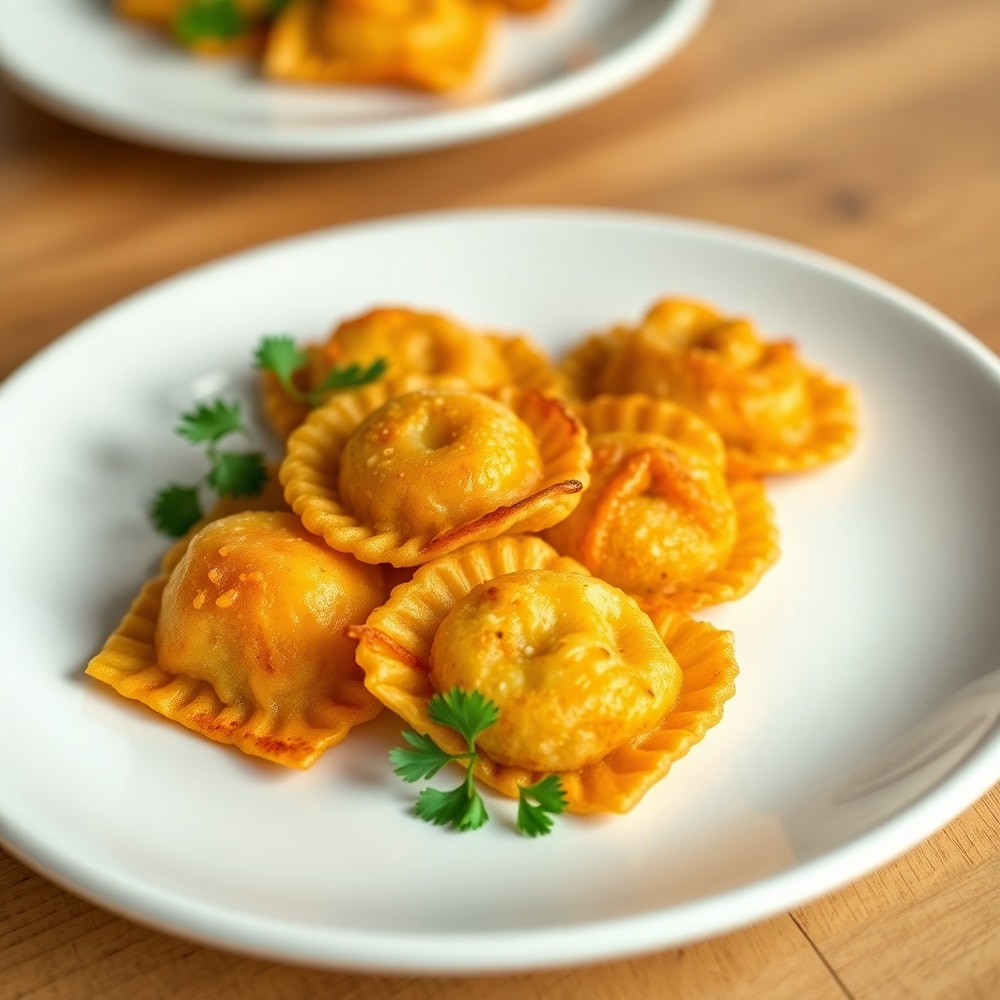
Why This Crispy Ravioli Appetizer: 5 Ultimate Cheesy Bites Is Pure Comfort
- Golden, crispy exterior
- Creamy, melted cheese interior
- Easy, hands-off cooking
- Better than takeout taste
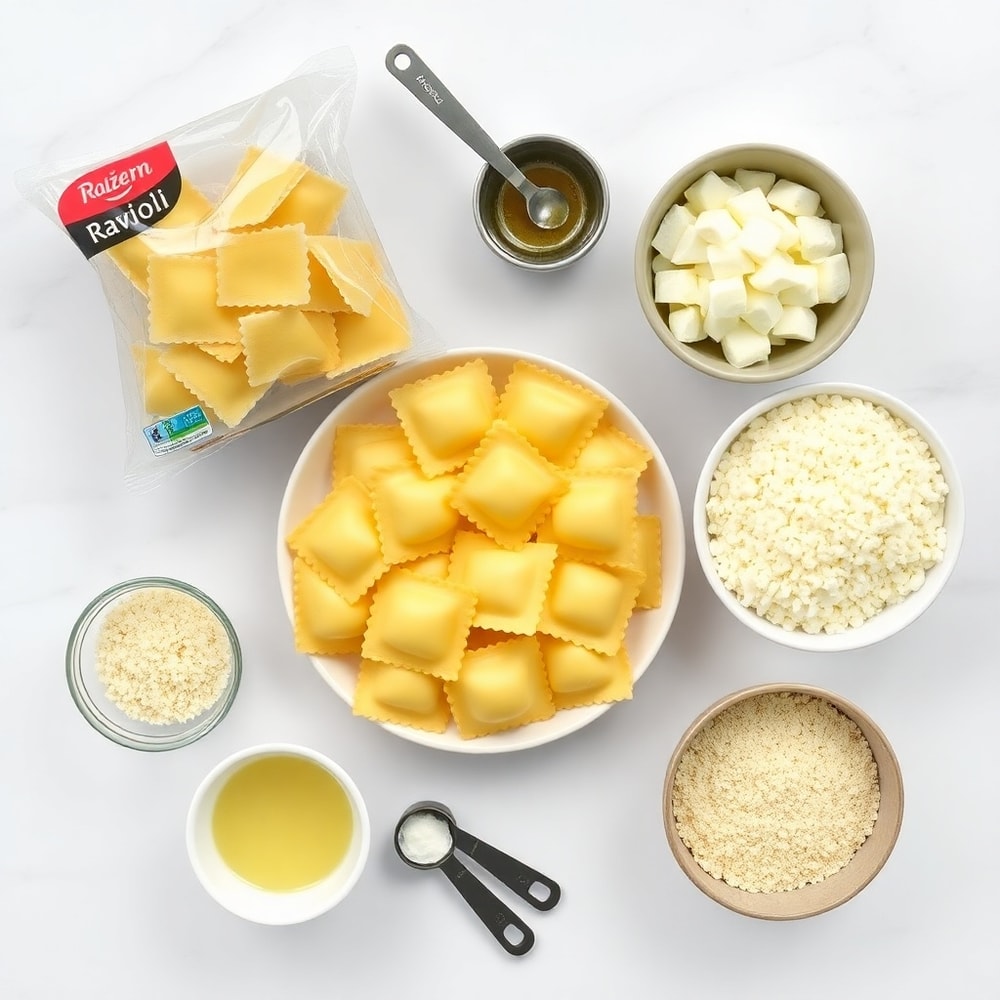
What You'll Need for Crispy Ravioli Appetizer: 5 Ultimate Cheesy Bites
Choosing the right ingredients makes a big difference, but this recipe is forgiving enough to work with what you have.
- Frozen cheese ravioli
- Parmesan cheese
- Mozzarella cheese
- Garlic
- Breadcrumbs
- Salt
- Pepper
- Italian seasoning
- Garlic powder
- Optional: Fresh parsley
- Optional: Red pepper flakes
- Optional: Marinara sauce
📝 Ingredient Notes
- Frozen cheese ravioli: Use your favorite flavor. I prefer cheese or spinach & cheese.
🛒 Tools & Equipment I Recommend
- Breadcrumbs — Adds crispiness and texture → See on Amazon
- Parmesan cheese — Enhances flavor and adds richness → See on Amazon
How to Make Crispy Ravioli Appetizer: 5 Ultimate Cheesy Bites
- Prepare: Preheat oven to 425°F (220°C). In a shallow dish, mix breadcrumbs, parmesan, garlic powder, salt, and pepper. In another dish, beat an egg.
- Coat: Dip each ravioli in the egg, then coat in the breadcrumb mixture. Place on a parchment-lined baking sheet.
- Bake: Bake for 15-20 minutes or until golden and crispy. Sprinkle with mozzarella in the last 5 minutes.
- Serve: Garnish with fresh parsley and serve with marinara sauce.
Cook's Tips for Perfect Crispy Ravioli Appetizer: 5 Ultimate Cheesy Bites
- Common mistake and fix: Don't overcrowd the baking sheet. Bake in batches if needed to ensure even crispiness.
- Time-saving tip: Use frozen ravioli for easy prep. No thawing required.
- Flavor boost: Add a pinch of red pepper flakes to the breadcrumb mixture for a slight kick.
Storing & Reheating Crispy Ravioli Appetizer: 5 Ultimate Cheesy Bites
Short-Term Storage
Store in an airtight container in the fridge. Store leftovers in an airtight container in the fridge for up to 3 days. Make-ahead tip: Bread the ravioli up to 1 day ahead. Store in the fridge until ready to bake.
Freezing Crispy Ravioli Appetizer: 5 Ultimate Cheesy Bites
Freeze uncooked, breaded ravioli for up to 2 months. Bake from frozen, adding a few minutes to the baking time.
How to Reheat Without Drying It Out
Oven: Reheat in the oven at 350°F (180°C) for 10-15 minutes or until heated through. Microwave: Reheat in the microwave for 1-2 minutes or until heated through. This may make them soggy.
Recipe Notes
- Chef tip: For extra crispiness, flip the ravioli halfway through baking.
- Best substitution: Use panko breadcrumbs for an even crispier exterior.
- Make-ahead: Bread the ravioli up to 1 day ahead. Store in the fridge until ready to bake.
- Scaling: This recipe can be easily doubled or tripled for larger crowds.
- Troubleshooting: If your ravioli are not crispy enough, try increasing the oven temperature to 450°F (230°C) and baking for a shorter time.
Want to level up this recipe?
Parchment paper — Prevents sticking and makes cleanup easy → Check price on Amazon
Crispy Ravioli Appetizer: 5 Ultimate Cheesy Bites
Ingredients
Main Ingredients
- Frozen cheese ravioli
- Parmesan cheese
- Mozzarella cheese
- Garlic
- Breadcrumbs
Seasonings
- Salt
- Pepper
- Italian seasoning
- Garlic powder
Optional Toppings
- Fresh parsley
- Red pepper flakes
- Marinara sauce
Instructions
- Prepare: Preheat oven to 425°F (220°C). In a shallow dish, mix breadcrumbs, parmesan, garlic powder, salt, and pepper. In another dish, beat an egg.
- Coat: Dip each ravioli in the egg, then coat in the breadcrumb mixture. Place on a parchment-lined baking sheet.
- Bake: Bake for 15-20 minutes or until golden and crispy. Sprinkle with mozzarella in the last 5 minutes.
- Serve: Garnish with fresh parsley and serve with marinara sauce.
Notes
- Chef tip: For extra crispiness, flip the ravioli halfway through baking.
- Best substitution: Use panko breadcrumbs for an even crispier exterior.
- Make-ahead: Bread the ravioli up to 1 day ahead. Store in the fridge until ready to bake.
- Scaling: This recipe can be easily doubled or tripled for larger crowds.
- Troubleshooting: If your ravioli are not crispy enough, try increasing the oven temperature to 450°F (230°C) and baking for a shorter time.
Storage
- Fridge: Store leftovers in an airtight container in the fridge for up to 3 days.
- Freezer: Freeze uncooked, breaded ravioli for up to 2 months. Bake from frozen, adding a few minutes to the baking time.
- Oven reheat: Reheat in the oven at 350°F (180°C) for 10-15 minutes or until heated through.
- Microwave reheat: Reheat in the microwave for 1-2 minutes or until heated through. This may make them soggy.
- Make ahead: Bread the ravioli up to 1 day ahead. Store in the fridge until ready to bake.
Nutrition Per Serving
- Calories: 350
- Protein: 15g
- Fat: 15g
- Carbs: 40g
- Fiber: 2g
- Sugar: 2g
- Sodium: 800mg
- Cholesterol: 50mg
- Sat. Fat: 8g
Nutritional values are estimates only. Actual values may vary by brand and portion size.
Crispy Ravioli Appetizer: 5 Ultimate Cheesy Bites FAQs
Yes, bread the ravioli up to 1 day ahead. Store in the fridge until ready to bake.
Ensure your oven is hot enough and don't overcrowd the baking sheet. Try increasing the oven temperature and baking for a shorter time.
Yes, cook at 400°F (200°C) for 8-10 minutes or until golden and crispy.
Reheat in the oven at 350°F (180°C) for 10-15 minutes or until heated through. The oven will maintain the best texture.
Yes, but you may need to adjust the baking time. Keep an eye on them to prevent burning.
A Warm Final Note
I can’t wait for you to try Crispy Ravioli Appetizer: 5 Ultimate Cheesy Bites and see how effortlessly it comes together. When you make it, pop back here and leave a rating or share how it turned out — I love hearing from you!